Battlegrounds
Battle for Gilneas: Three Bases and the Waterworks
Arathi Basin compressed to three bases, where losing the centre usually loses the match. The Lighthouse, Waterworks and Mines, why three bases plays faster than five, the standard opening, and the Midnight bridge rework.
What Battle for Gilneas is
The Battle for Gilneas is Arathi Basin compressed to three bases. Same idea, a resource race won by holding more of the map, but with only three nodes the swings are faster and more decisive: losing the centre usually loses the match. It runs 10v10 as a random battleground and 8v8 in Battleground Blitz.
If you know Arathi Basin, you know the framework. What follows is what three bases instead of five changes.
The three bases
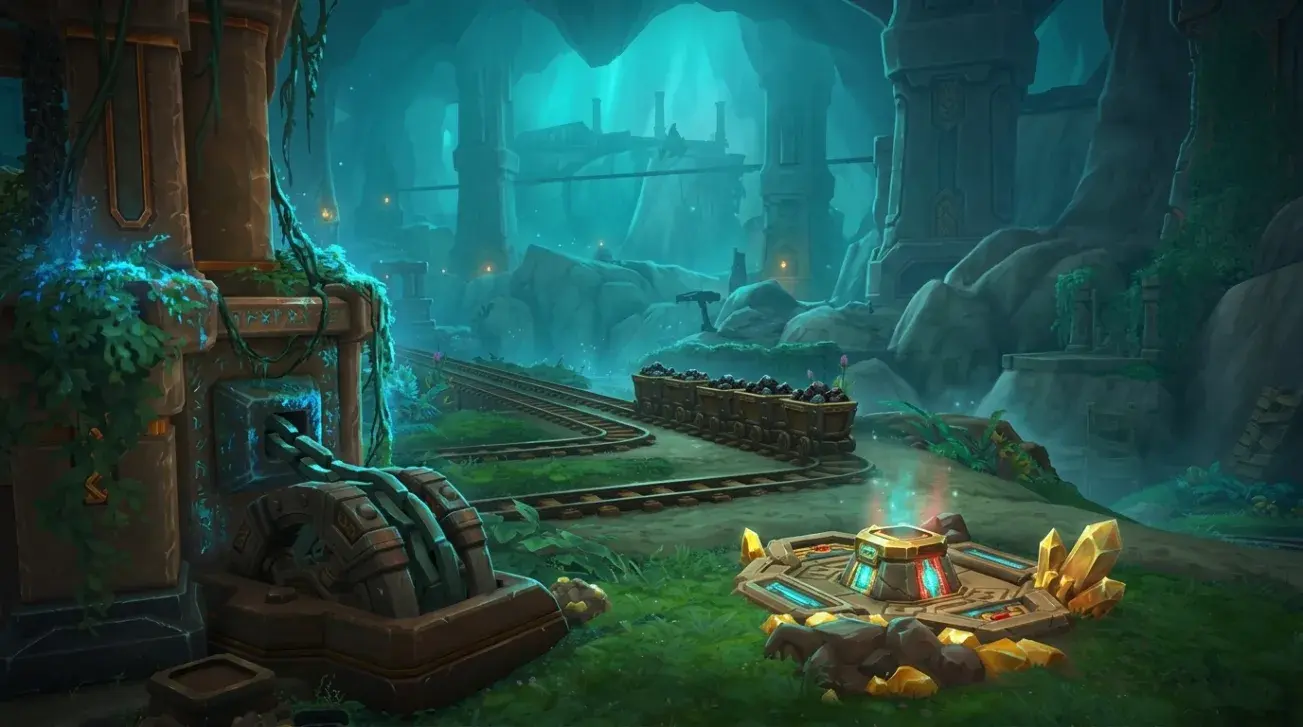
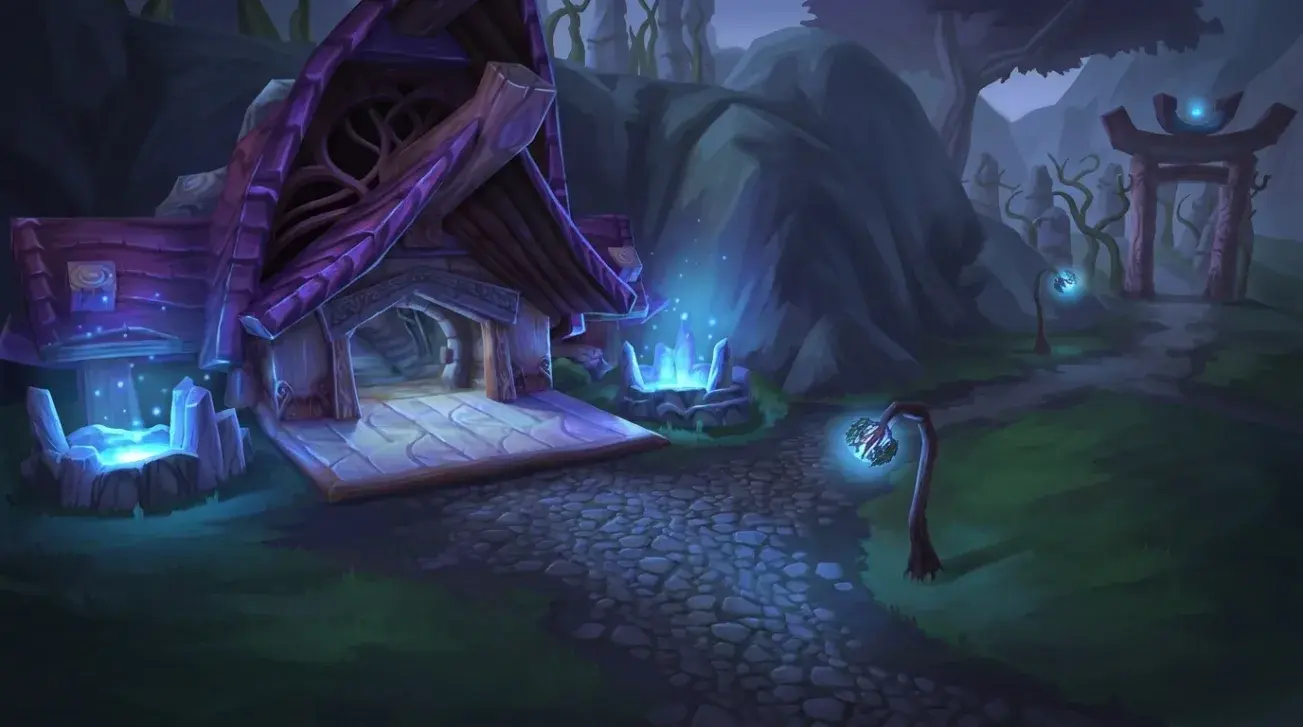
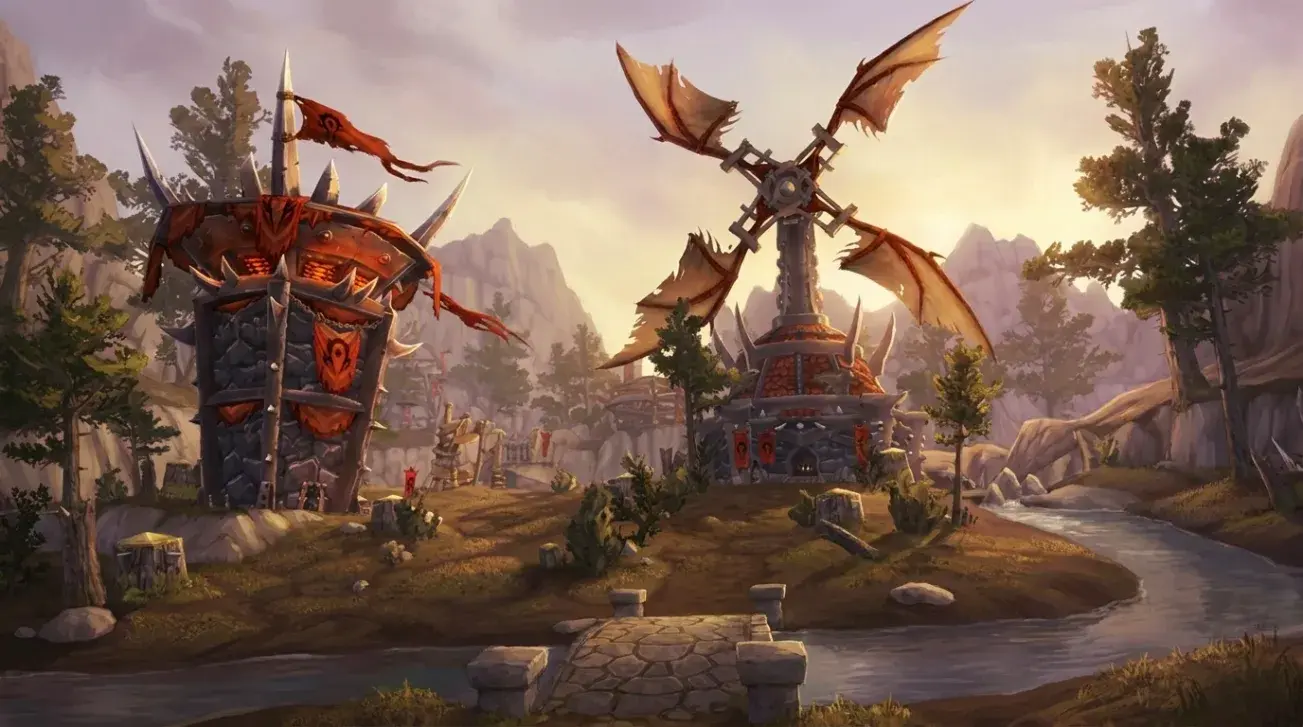
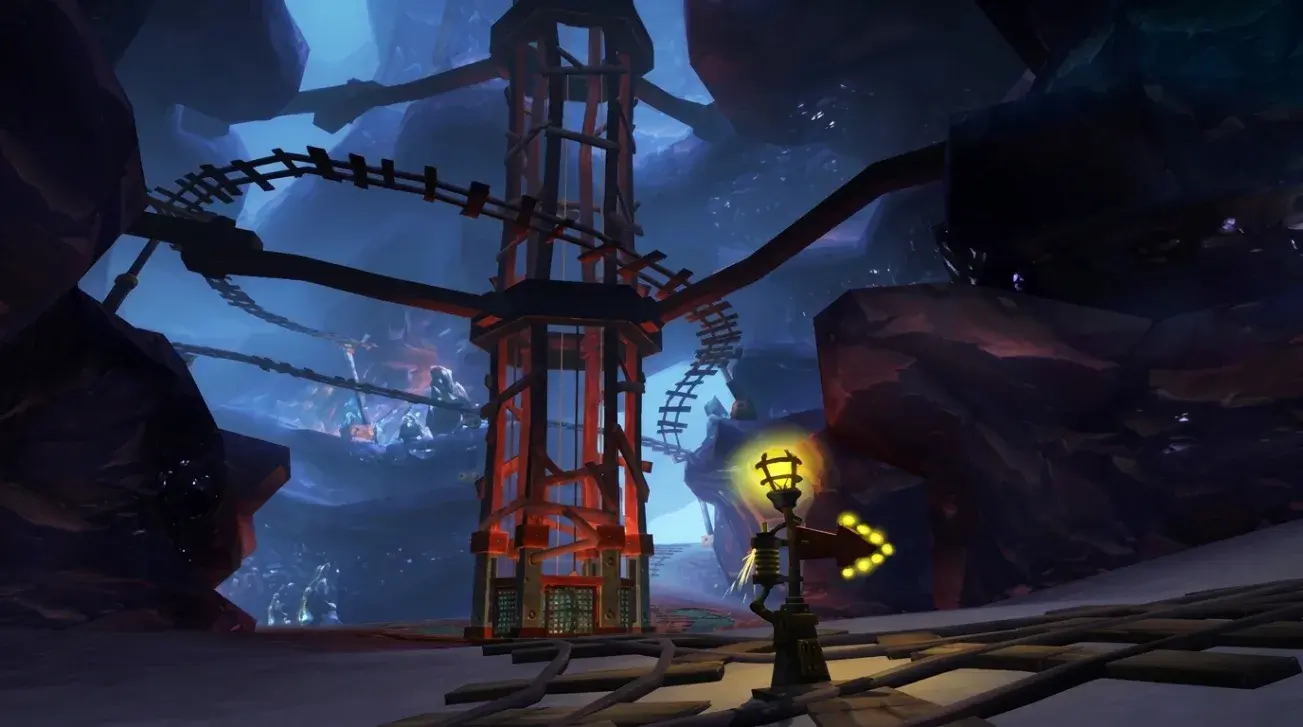
The Lighthouse, The Waterworks and The Mines. The Waterworks is the central node, the one both teams can reach at similar speed and the one the whole match tends to revolve around. The Lighthouse sits toward the Alliance side and The Mines toward the Horde side, so each team has a natural home node and a shared fight in the middle.
Alliance start at Gilnean Stronghold, Horde at Horde Landing.
Why three bases plays faster than five
With five bases, a team can hold three and grind out a win while contesting a fourth. With three, there is no comfortable majority to sit on: holding two of three is a real lead, and losing the centre drops you from two to one in a single fight. There is less room to recover, so the opening for the Waterworks matters more here than the opening for Blacksmith does on Arathi Basin.
The scoring is the familiar resource race. One base pays one resource per tick, two pay three, and the game is a race to a resource total in the low thousands. Hold two bases including the centre and you are winning; lose the centre and you are not.
The opening
The standard setup is one player to your home node, the Lighthouse for Alliance or the Mines for Horde, and everyone else to the Waterworks. The home node barely needs defending in the first minute; the game is decided by who wins the fight in the middle.
The one home defender is there to stop a stealth cap, not to win a fight. Their job is to survive and call for help, because a lost home node while the team is committed to the centre is how a winning position collapses.
Who defends and who fights the middle
The centre fight rewards raw team-fight power; the home node rewards a player who can survive alone and stall. The specialisations that do each job well in Blitz right now are the shortlist:
PvP tier list
based on the top segment, rating 1750+ · 4,574 playersMeta


What losing teams do
- They send everyone to the Waterworks and leave both flanks open. Winning the centre while losing both home nodes is a losing trade on a three-base map.
- They over-defend a home node. Two or three players sitting a quiet flank are two or three players not winning the centre.
- They treat it like Arathi Basin. There is no fourth base to fall back on; the margin for a slow start is much thinner.
The Midnight bridge change
Patch 12.0.0 reworked the approaches to the Waterworks: two new bridges were added on the Horde lead-ups and the Alliance's broken bridge was repaired. The effect is that the centre is now reached more symmetrically than before, so the old routes and chokepoints from pre-Midnight guides no longer match the map. If your reference for this battleground predates Midnight, the Waterworks approach it describes is out of date.
What Blitz changes here
Battle for Gilneas is in the Blitz pool, confirmed by Battleground Blitzest.
- 8v8 instead of 10v10.
- The node cycle: a 4 second cast starts a capture, you hold it 30 seconds without a recapture, then it generates for 45 seconds during which the enemy cannot take it. A shielded base is safe; do not stand on it.
- The Waterworks spawns 4 seconds later at the opening than the two flank nodes, so the flanks are cappable first while the centre fight forms.
- The mount speed buff is 75% here, not 100%. Swift Pursuit reaches full value only on Arathi Basin and Deepwind Gorge; the tooltip showing a flat 100% is wrong on this map.
Patch 12.1 on this map
Healing in battlegrounds is down 20% and slows were cut a tier, both of which make a lone home defender easier to break. On a three-base map where the home node is usually held by one player, that pressure is felt more than on a five-base map with more bodies to spare. The rules shared across all nine Blitz maps are in our Battleground Blitz guide.
FAQ
How many bases does Battle for Gilneas have?
Three: The Lighthouse, The Waterworks and The Mines. The Waterworks is the central node the match revolves around. The Lighthouse sits toward the Alliance side and The Mines toward the Horde side, so each team has a home node and a shared fight in the middle. It is Arathi Basin compressed to three bases.
How does it differ from Arathi Basin?
With three bases instead of five there is no comfortable majority to sit on. Holding two of three is a real lead, and losing the centre drops you from two to one in a single fight. The swings are faster and the margin for a slow start is much thinner, so the opening for the Waterworks matters more than the opening for Blacksmith does on Arathi Basin.
What is the standard opening?
One player to your home node, the Lighthouse for Alliance or the Mines for Horde, and everyone else to the Waterworks. The home defender is there to stop a stealth cap and call for help, not to win a fight, because a lost home node while the team is committed to the centre is how a winning position collapses.
What changed in Midnight?
Patch 12.0.0 reworked the approaches to the Waterworks: two new bridges on the Horde lead-ups and the Alliance's broken bridge repaired, so the centre is reached more symmetrically than before. Guides that predate Midnight describe the old routes, which no longer match the map.
Is the mount speed buff full value in Battle for Gilneas?
No, it is 75%. Swift Pursuit reaches its full 100% only on Arathi Basin and Deepwind Gorge; the in-game tooltip showing a flat 100% is wrong on this map. In Blitz the Waterworks also spawns 4 seconds later than the two flank nodes at the opening.
What is the most common mistake on this map?
Sending everyone to the Waterworks and leaving both flanks open. Winning the centre while losing both home nodes is a losing trade on a three-base map. The opposite error, over-defending a quiet home node with two or three players, costs you the centre fight that actually decides the game.